 I'm going to be showing you how to create the image below, using Adobe Photoshop CS5. This is a very simple and easy to follow tutorial and it doesn't require many resources.
Resources
Old Paper Texture
Futura Medium BT Font
Step One
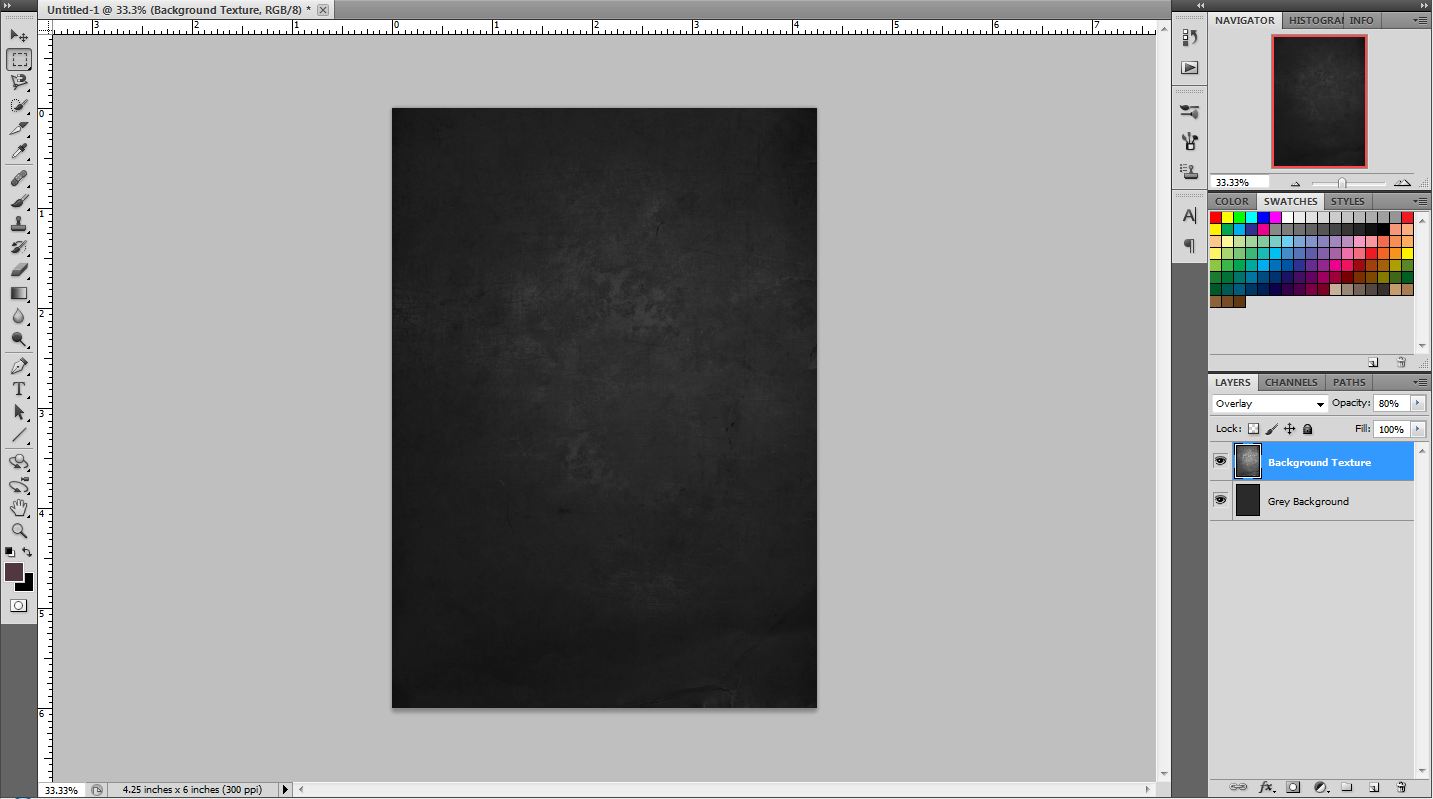
Open a new 1275 x 1800 document in Photoshop and set the DPI to 300 as seen in the screen capture below. This is the exact size of the texture we are going to be using for the background so it should fit in there nicely without resizing or cropping.

Now we're going to
bring in our background texture, from the resources provided, to our new document. You can either drag the file into Photoshop or go File > Place and select the file. The texture should fit perfectly into the new document, but, just to be safe, I suggest scaling it slightly over the edges of our document. Remember when you are scaling an image you want to be holding down the shift key to maintain its original proportions.
Step Two
We're going to now desaturate our texture. Before we can do that we need to make sure that the image is rasterized. If you check your Layers window you should see a little icon in the bottom right corner of your texture layers thumbnail.

Right click, or Ctrl + Click on Mac, and select Rasterize Layer from the drop down menu. Now we can actively edit our texture layer. I'm going to take this opportunity to suggest labeling all your layers to make life easier when we are working with a lot of them. To desaturate our texture layer you select it and go Image > Adjustments > Desaturate or Ctrl + Shift + U. At the moment its looking a bit light so I'm going to try darken it a bit. Create a new layer under the texture layer and fill it with #2a2a2a. Now set the texture layer to an Overlay from the blending mode drop down menu and adjust the opacity of the layer to around 80%.
Step Three
A bit plain and boring, isn't it? I think so. So lets try make it more interesting. We're going to be rending some clouds using one of Photoshops built in filters. Set your foreground colour to #c7a27f and your background colour to white (#ffffff). Create a new layer below your texture layer but above your solid grey layer. Go Filter > Render > Clouds. Now set this layers opacity to around 75% and the blending mode to Overlay. You should see something similar to the screen capture below.

Create another new layer under the pink clouds layer and follow the same steps as above to create clouds, only this time, set your foreground colour to #7befc9. Set this layers opacity to around 50% and leave the blending mode on Normal. Finally we want to group these two layers together, so select both the layers and press Ctrl + G. Layers are not the only things that can have blending modes applied to them, groups can too. Set the blending mode of the group to Overlay. You should now have something that looks like this.

Step Four
As you can see, the cloud layers have made the background a lot lighter. I only want the center of the background to be lighter in order to emphasize the type. So to solve this I'm going to create an elliptical mask on the clouds group. First, create two guides on your horizontal and vertical centers by going View > New Guide... and setting the position to 50%.

Now, with the Elliptical Marquee Tool (M) selected, position your cursor in the center of your page, where the guides cross, and, holding Alt, drag out an oval.

Now right click on your selection and select Feather... Enter in about a 90 pixel feather radius. Finally, with your clouds group selected, hit the Vector Mask button at the bottom of your Layers panel.

You should now be left with something like this...

Step Five
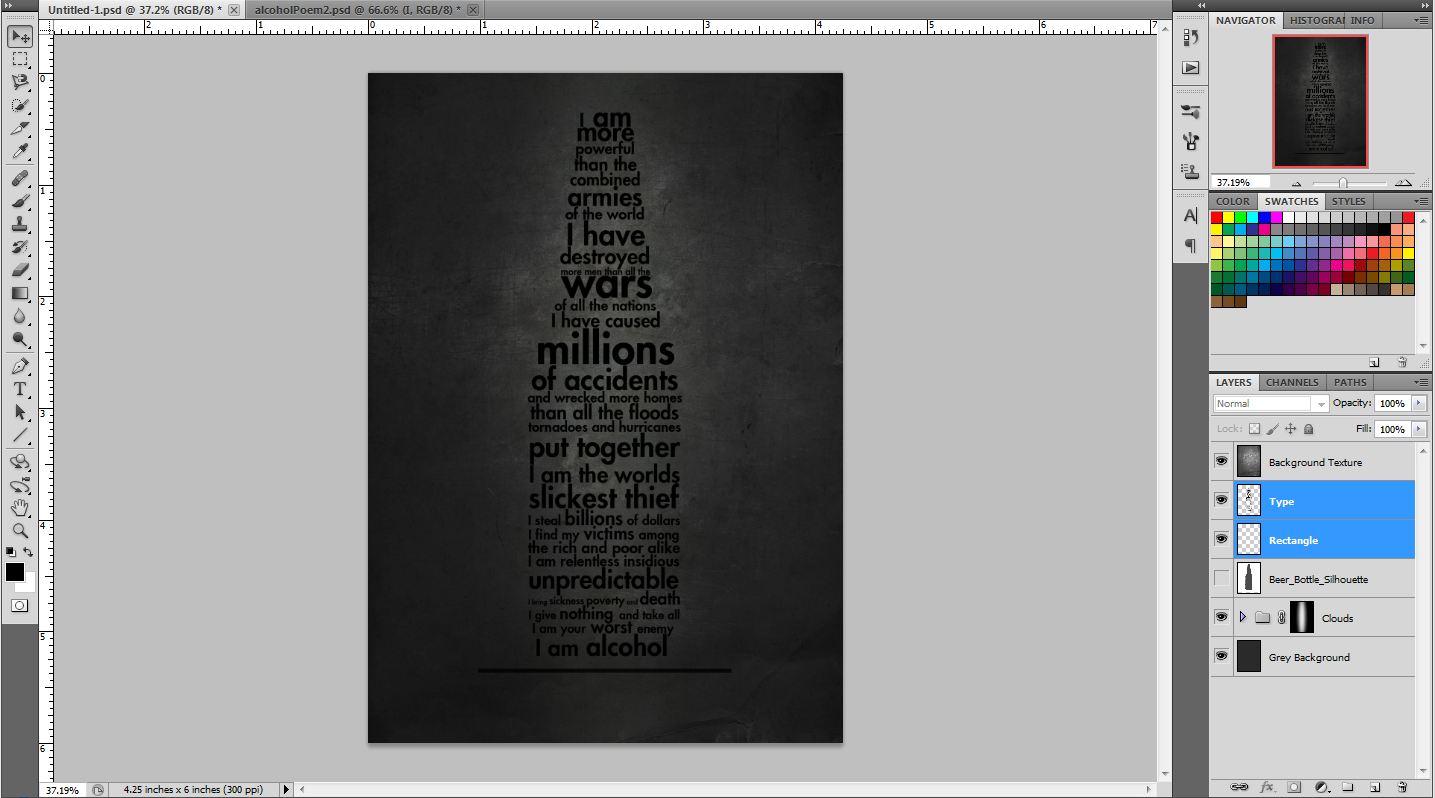
Now that we're done with the background, it's time to add the type. To make the process easier, I've included a silhouette of a beer bottle in the resources. The text I chose for for this was from a poem I found online. You can find it here. Place the bottle silhouette in the center of your canvas so that you can use it as a guide to shape your type. Now select the Horizontal Type Tool (T) and set your font to Futura Md BT. You can find the font provided in the resources above. What you want to do now is to type each line so that it fits inside the shape of the bottle. Basically what I did was to create a new type layer for every line. I played with the font size a little to try and emphasize the more emotive words in the poem.

When you are done, select all your type layers in the Layer panel and merge them together (Ctrl + E). You can hide or discard the bottle silhouette layer. You should now be left with something like this.

Step Six
To create the line underneath the type, make a new layer and select the Rectangular Marquee Tool (M). Now drag out a thin rectangle underneath your bottle and fill it with black. To make sure it is centered with the type, select both the type layer and the layer with the rectangle and go Layer > Align > Horizontal Centers.
Step Seven
Now we want to add some colour to the type and the rectangle below it, so we're going to make use of a layer style. Merge the rectangle layer and the type layer together by pressing Ctrl + E and double click the layer. Click on the Gradient Overlay tab and fill it out as below, using the colours #c7a27f and #7befc9

And there you have it. If you'd prefer not to have the texture overlay on the text, just move your type layer to the top of your Layers panel. So your layers should be in the same order as the screen capture below.

Finished!
And we're done. Below you can see the final piece. I hope this tutorial was easy to follow. Please comment below if you have any problems or feedback. Thanks!
No comments:
Post a Comment